Tuesday, July 23, 2019

Kitchen Bookshelf


We needed a bookshelf in our kitchen for a few things: cookbooks, a place to stash Sarah's purse, and our weekly pile of library books (in various states of being read). This one I built fills the bill.


As usual, I started with a rough hand-drawn plan in my shop notebook. I really enjoy doing this because it allows me to go at my own pace and picture what I want to do. It's quite easy, especially with something as simple as a bookshelf. I usually start by just writing down and drawing the dimensions that define the limits of the design. Then, after thinking about it for a while, I draw what I want with measurements and refine them. I'm not sure you can see it in this photo, but I did some "research" on other shelves that I built or that we bought to get a feel for the sizes that we'd need.


I used two 8' 1x10s. I bought the good stuff, which was unnecessary since I painted it but it was nice to work with. Check out that nice bench!


Parts cut out, pre-drilled and labeled
Test assembly


Partially assembled

Screw holes filled and ready for sanding

Just checking that it fit where we want it

Glueing on the back

Sanded and ready for priming

Last coat of paint on
I really enjoyed this project even though the heat index was 105 degrees on the weekend I built it. I got into a nice flow state and things went quite smoothly.

Doing the project helps me figure out how I want the shop to be laid out and gave me some ideas on a couple tool upgrades.

Sunday, May 19, 2019

Paulk Compact Workbench


It's been quite a while since I posted but it's also been quite some time (over a year) since I've actually had a shop! Now that I have one, I haven't wasted any time getting into it. Aside from a few repairs and some painting, my first real project is this Compact Workbench from Ron Paulk.

I bought the plans for this bench quite some time ago - while we were living in Hanover, NH. I had a small space in the basement that might have been used for a shop, so I thought this bench would be good. However, I didn't end up using the space as a shop so I didn't build it.

Now that we live in Lebanon, NH and I have a real shop, I decided that now was the time. The materials for this bench cost about $200 but I have some nice plywood scraps left over that can be used for some other project.

As usual, I spent most of my time setting up the cuts to break down the plywood into manageable sizes. I didn't take any photos of that, but suffice it to say that there's lots of measuring, checking, measuring and clamping before the 30 second cuts take place.


This photo lets you see the internal structure. Making those cutouts not only makes it easy to store tools in the table but significantly lightens the bench, too, which is handy when you work alone as much as I do.


This bench is a little darker in this shot because I coated the whole thing in water based polyurethane before I put the top on. That is, I coated the inside. I'm not sure that's 100% necessary, but since the heat and moisture in the shop could vary quite a bit, I thought it was worth doing.


Here's the top before I sanded and poly-ed it. You can still see the guide lines I used to drill all the holes. Those holes are for clamps and jigs. Stay tuned because I have lots of ideas for jigs that'll make this bench even handier.


Here's the final product. I'll have it on saw horses for now but a mobile base is in the near future.

I had a great time making this. It allowed me to really settle into my shop and showed me what my priorities need to be in terms of what I need to build next to tailor the shop to how I like to work.

Update:
I got a couple clamps. this should explain why I built a bench full of holes!


Sunday, June 18, 2017

Son of Franken Mower Mod


I finally had to stop using the Franken Mower because the wheels are so messed up that it's practically un-steerable. I ran it once this summer and it trashed my forearms so badly that I went to the Home Depot and bought a new (cheap) mower.
Aside from the fact that the new mower is tuned for California emission standards, it works fine with the exception of the handle height. It's way too low for both Helen and me, hence this mod.
It's just 4 pieces of galvanized pipe, 2 elbows, 2 caps, and 4 clamps. It took all of 10 minutes to put together and it feels like it'll work just fine. It's plenty high enough for both of us.
The rope in the picture is used to keep the kill-switch arm closed during mowing.
The sides are 12" pipe; elbows are 45 degrees; handles are 6" pipe; and each handle is capped for comfort.
We'll try it for a while and see how it feels. Helen suggested wrapping the shorter handles with paracord for comfort, which would be cool. I may replace the metal caps with rubber chair feet, too, if they end up roughing up our hands too much.
All in all, a very satisfying build.


Here's a photo of Franken Mower for old time's sake. Check out those front wheels: totally googly and wonky. But the motor still runs!
My original plan for this mod was to add a pair of bicycle handlebar extensions to the top handle but the ones I bought couldn't open up enough to attach so I went with this plan "B".


Sunday, March 26, 2017

Workbench Drawer Inserts


Just because I built 10 drawers didn't automatically mean I was organized! So I built a bunch of drawer inserts to organize 10 year's worth of hardware doo-dads.

Back in 2013, I made Sarah a Christmas tree made of wooden slats. I had lots of left-overs that proved to be the perfect height to make my inserts.


I cut everything to length and then set up my dado stack to cut interlocking joints. It took a long time to set the saw blades up correctly because the pieces, while pretty uniform in width, weren't a standard width so I used the paper and cardboard shims that came with the stack to get it right.

Once I got the dado set up, I could start cutting. I cut enough inserts for 2 drawers each time so I quickly ended up with plenty of inserts. As you can see from the photo, I varied the number of compartments so that I had some flexibility as to where I could store different things.

Prior to having the drawers, I had about two dozen glass jars containing nails, screws, nuts, bolts, etc. as well as an old wooden tray. I was able to fit everything into the drawers and significantly tidy up the shop. I'm very happy with how it all came out.


Sunday, March 12, 2017

Workbench Drawers - v2


After finishing the first set of drawers for my workbench, I was able to put a bunch of stuff away. That meant that I had another nice space under the bench that I could fill with drawers. I decided to use a different design this time for a couple reasons.
I wanted to try a set of drawers with dadoes for the drawer runners rather than slides.
I was cheap and didn't want to buy $70 or $80 worth of drawer slides.
I went with 3/4" MDF for the carcass, 1/4" plywood for the bottoms, and 1/2" MDF for the drawer bodies. The drawer fronts are......

Rather than buy a big sheet of MDF, I went for the slightly more expensive option of buying 2' x 2' pieces already cut at Home Depot for the carcass. I cut them down to size on the table saw (a 21"x21" cube) and then set up a 1/4" dado stack.

I spent a lot of time figuring out how to make evenly spaced drawers and even more time thinking about the order I'd cut all the dados in because it involved making 4 cuts (1 for the left side, 1 for the right side, 2 for the center support) and then moving the fence. I used painter's tape to clearly mark the bottoms, inside/outside, fronts, etc. This was very helpful while I was making all the cuts. Here's how they came out:


The dados came out surprisingly even and matched, which made me happy.

Then it was time to glue up the carcass. I made some guides to help out.


However, I didn't end up using them - they were more of a pain than they were worth. Here's the carcass glued up and squared off with a square guide I made years ago and another square to keep it all even.


I used a lot of glue and I added 1-1/2" finish nails to strengthen things up. I ended up gluing things up on the floor because it's quite flat and if I had done it on saw horses, it would have been too tall to deal with.

I let the glue set for a while and then started working on getting the center section glued in. I fussed with this for a very long time - measuring, adjusting, measuring, adjusting, etc. When I finally had it the way I wanted, I cut all the drawer bottoms so that I could use those to center the support and give the whole thing some rigidity while the glue set.


This picture shows the carcass upside down as I nailed it from the bottom.  As you can see, 8 drawers are going to be the same height with the top two drawers being just a bit shorter.

Then I turned to building the drawers. Since I had 10 to make, I decided I needed some repeatable set-ups. First, I ripped everything to the right width, then I set up two stop blocks on my chop saw so that all the fronts, backs, and sides would be the same. One on each side of the saw so that I didn't have to adjust anything once I started cutting. Here's the stop for the sides.


Here's the stop for the fronts & backs.


Then I decided to spend the time making a jig for the drawer assembly to help me get them all the same and to make assembly easier and more repeatable.


As you can see, I used some old scrap I had as well as the off-cuts from the MDF sheets. Using this made a huge difference. The drawers all went together easily and they're essentially the same. Nice. Once I got each drawer glued and nailed, I weighted them down so they'd dry nice and flat. As you can see, the bottoms extend way beyond the drawer lengths. I'll trim these up when I'm done.


Here are 6 of the drawers made. I ran out of 1/2" MDF before I could finish.


There's no dado on the bottom pair of drawers, so I'll trim those down to size after I have them built. Again, I want them all to be essentially interchangeable so I'm building them each the same way.


Here are all the drawers made up. You can see (barely) that I've labeled each one where they'll end up. They fit nicely and move in and out smoothly.

Here's the unit with the drawer fronts on. The fronts really neaten up the whole thing.


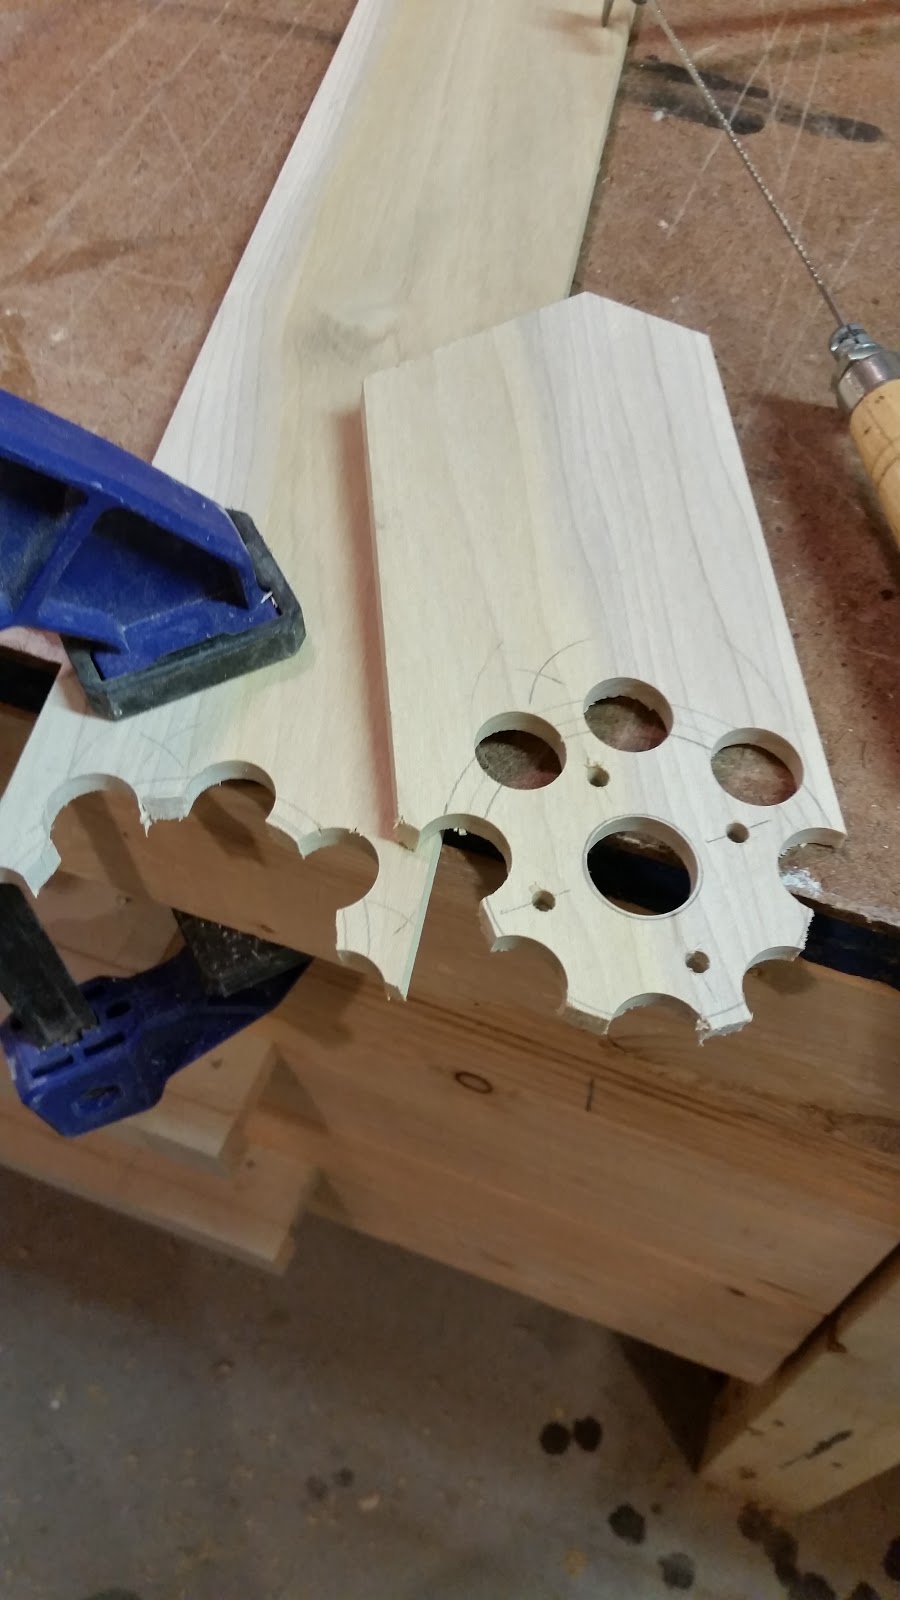
I thought I'd buy drawer pulls for this set but when I got to the hardware store, it was closed. So, necessity being the mother of invention, I made my own pulls.


I got these out of some old 2x4's I had left over from other projects. I mounted them with glue and 2" brads (here's to nail guns for working alone!).


I'm really pleased with how both sets of drawers came out. I drove a couple long screws through the bottom of this unit into the bench so that they stay put but also makes them removable. We'll see if I decide to take them with us if we ever move but at least that's an option.


Saturday, February 18, 2017

Fidget Spinners


I got it in my head to create a few fidget spinners. These are all over the place now but I wanted to give one a try. I bought a package of skateboard bearings and a 22mm forstner bit to cut the right size holes and got started. This post shows one of the equilateral triangle builds but all of the triangular ones are built the same way, pretty much. I refined my technique as I went.


I start by scribing an equilateral triangle on my wood. The wood is 1/4" poplar from the Home Depot, which I've used for all kinds of projects. Turns out, it's just the right thickness for the skateboard bearings. I mark the key drilling points with the awl so that I can line up the drill bits correctly.


First, I drill the hole for the bearing - it's 22mm. I learned after doing a couple that it's best to keep the triangle outlined on the large piece of wood so that I have something to clamp to when drilling. It keeps things stable and much safer. I marked the center of the triangle by drawing a line perpendicular to the each side passing through the opposite apex. Again, I marked the hole with the awl to make it easy to align the forstner bit.


Next come the spots where I inset the nuts for the bolts and then the through-holes for the bolts. The nut insets are 3/8" and the bolt pilot holes are 5/32". I drilled the nut insets first which left an indentation in the center. That center indentation was exactly where I had to drill the bolt pilot holes so they were easy to align. I inset the center of the nut insets 1/2" from each triangle apex.


Now that I had all the holes pre-drilled, it was time to cut out the triangle. 2 cuts at 30 degrees each got the triangle out. It is an equilateral triangle, 2-1/2" per side.


Then it was time for sanding. It's much easier to get the pencil marks off before doing any hardware installation or gluing. I sand all the surfaces on the belt sander but I sand the triangle apexes by hand with a little sand paper - it's easier to control that way. I use my belt sander clamped to a saw-horse to do this. It's a reasonable facsimile of a bench sander.


Now it's time to mount all the hardware. First I put in the bearing with just a couple spots of super glue to hold it in place. Before I put the bearing in, I clean it with WD-40. When you buy the bearings, they come packed with grease which prevents them from spinning freely. The WD-40 really loosens them up.

 Then I mounted the machine screws and their nuts.
Last, I insert the center bolt and its nut. I super glue all the nuts in place.

 I use a dremel tool with a cut-off wheel to trim the bolts flush with the nuts.


Here are all the cut-offs and the spinner looking pretty close to done. Note the safety glasses: these are essential when using the cut-off wheel. It throws a surprising amount of metal splinters and sparks. I dab a drop of super glue onto each nut to keep them in place.


And here's the finished project.


The munsen ring spinner has less construction but took a bit of figuring to get it together well. The trick is to clamp each side with vice-grips before inserting the screws. If you don't clamp them, the ring doesn't hold the bearing well. I added the cap-nuts for looks - I think they look pretty good. Even though I cleaned the bearing on this one, it doesn't spin as well as the wooden ones. I think it might be because I really tightened the screws and nuts hard. But it has a satisfying heft and spins OK.

Here are a couple spinners in action.


Update (12 March, 2017)
I've really enjoyed making these spinners. I brought a few to my office and people really love to mess with them while we're talking.


I like the round ones quite a bit. I also made a couple oval ones at Liz's suggestion.