

I got it in my head to create a few fidget spinners. These are all over the place now but I wanted to give one a try. I bought a package of skateboard bearings and a 22mm forstner bit to cut the right size holes and got started. This post shows one of the equilateral triangle builds but all of the triangular ones are built the same way, pretty much. I refined my technique as I went.

I start by scribing an equilateral triangle on my wood. The wood is 1/4" poplar from the Home Depot, which I've used for all kinds of projects. Turns out, it's just the right thickness for the skateboard bearings. I mark the key drilling points with the awl so that I can line up the drill bits correctly.

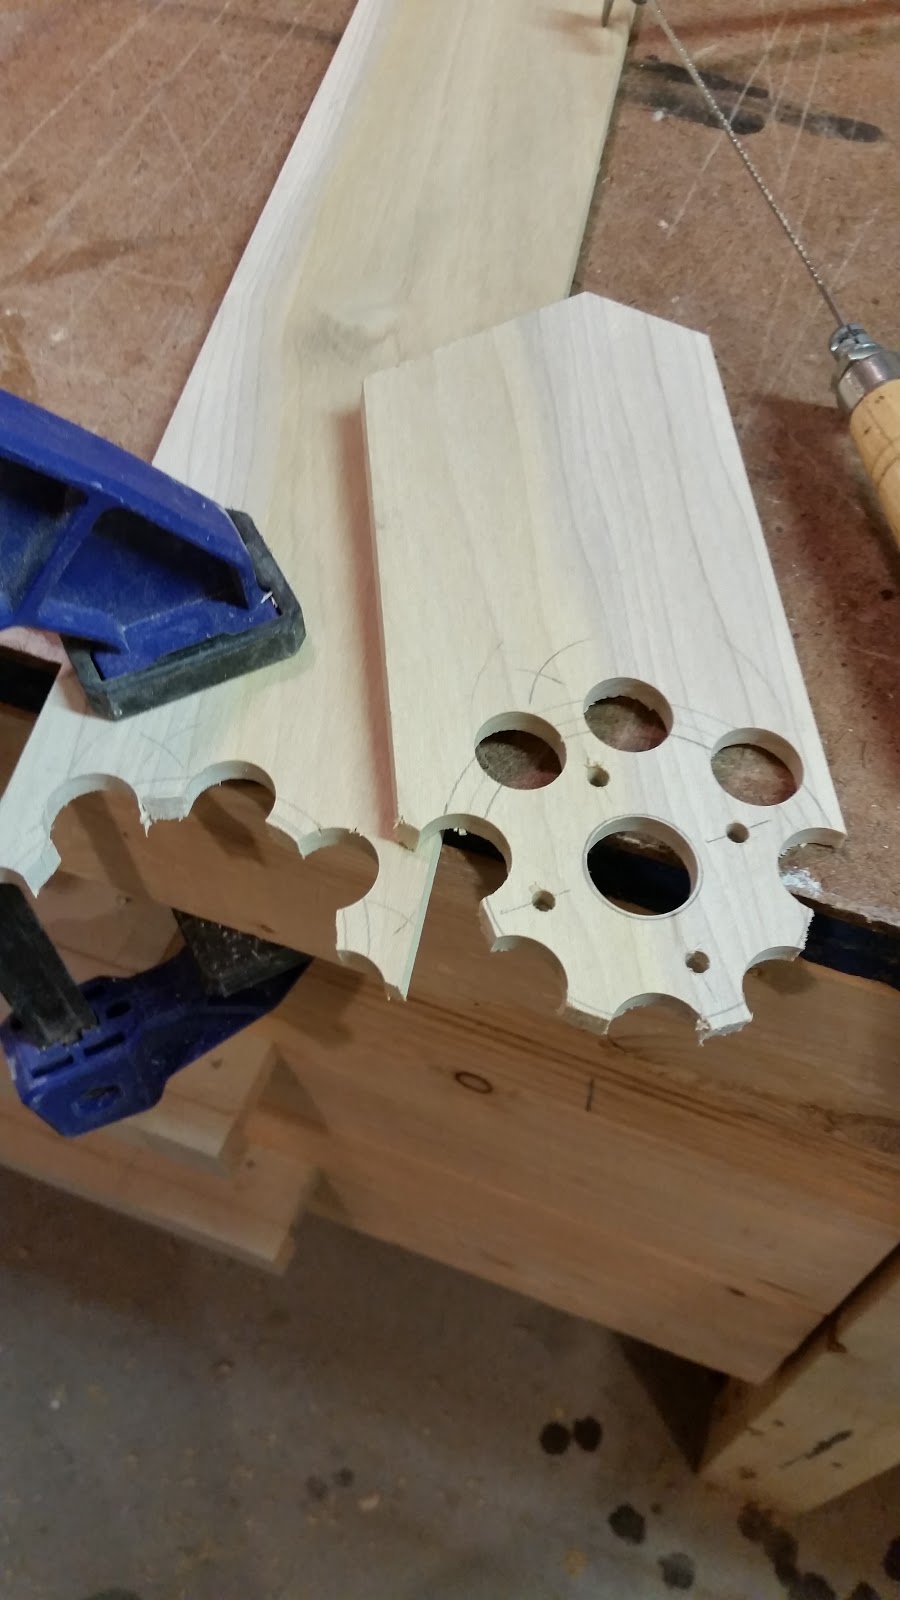
First, I drill the hole for the bearing - it's 22mm. I learned after doing a couple that it's best to keep the triangle outlined on the large piece of wood so that I have something to clamp to when drilling. It keeps things stable and much safer. I marked the center of the triangle by drawing a line perpendicular to the each side passing through the opposite apex. Again, I marked the hole with the awl to make it easy to align the forstner bit.

Next come the spots where I inset the nuts for the bolts and then the through-holes for the bolts. The nut insets are 3/8" and the bolt pilot holes are 5/32". I drilled the nut insets first which left an indentation in the center. That center indentation was exactly where I had to drill the bolt pilot holes so they were easy to align. I inset the center of the nut insets 1/2" from each triangle apex.

Now that I had all the holes pre-drilled, it was time to cut out the triangle. 2 cuts at 30 degrees each got the triangle out. It is an equilateral triangle, 2-1/2" per side.

Then it was time for sanding. It's much easier to get the pencil marks off before doing any hardware installation or gluing. I sand all the surfaces on the belt sander but I sand the triangle apexes by hand with a little sand paper - it's easier to control that way. I use my belt sander clamped to a saw-horse to do this. It's a reasonable facsimile of a bench sander.

Now it's time to mount all the hardware. First I put in the bearing with just a couple spots of super glue to hold it in place. Before I put the bearing in, I clean it with WD-40. When you buy the bearings, they come packed with grease which prevents them from spinning freely. The WD-40 really loosens them up.


Here are all the cut-offs and the spinner looking pretty close to done. Note the safety glasses: these are essential when using the cut-off wheel. It throws a surprising amount of metal splinters and sparks. I dab a drop of super glue onto each nut to keep them in place.

And here's the finished project.

The munsen ring spinner has less construction but took a bit of figuring to get it together well. The trick is to clamp each side with vice-grips before inserting the screws. If you don't clamp them, the ring doesn't hold the bearing well. I added the cap-nuts for looks - I think they look pretty good. Even though I cleaned the bearing on this one, it doesn't spin as well as the wooden ones. I think it might be because I really tightened the screws and nuts hard. But it has a satisfying heft and spins OK.
Here are a couple spinners in action.
Update (12 March, 2017)
I've really enjoyed making these spinners. I brought a few to my office and people really love to mess with them while we're talking.


I like the round ones quite a bit. I also made a couple oval ones at Liz's suggestion.


